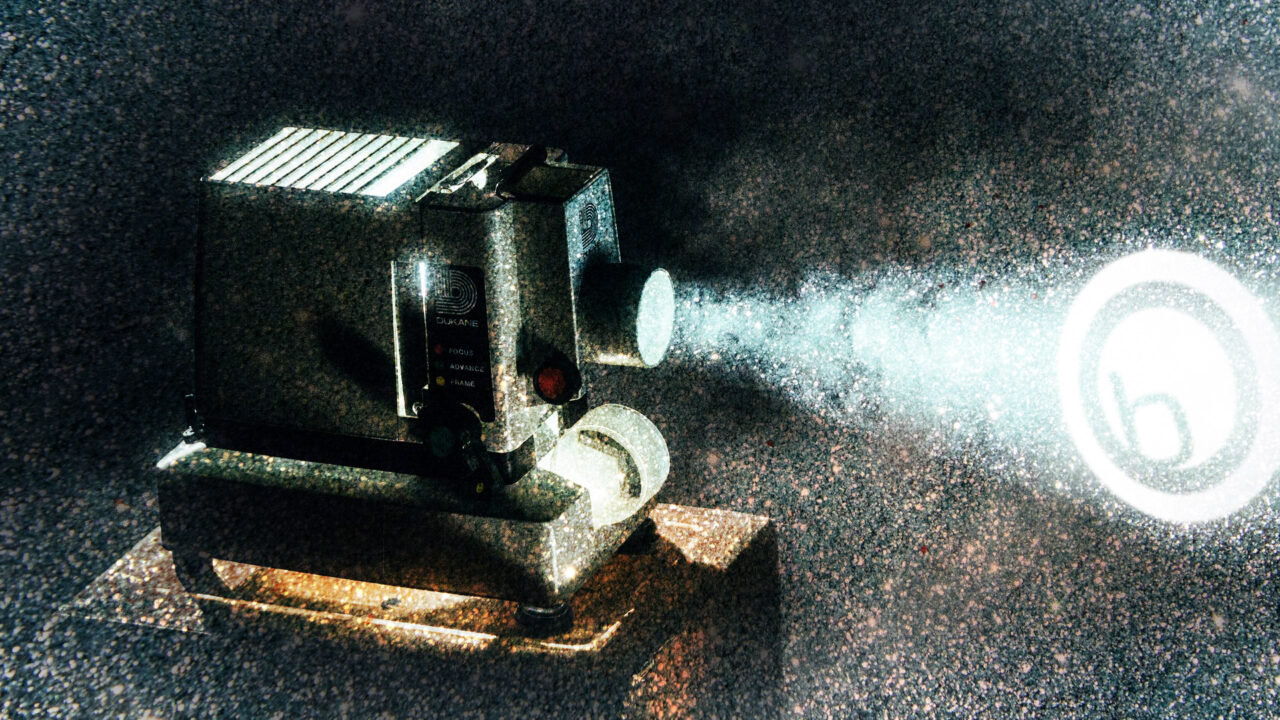
Imagine your typical general session or breakout. Chances are, that image in your head includes at least one screen for visual content.
Visual support has become such an integral part of communicating in the live event environment that we almost can’t imagine doing an event without it. With our increasing reliance on captivating visuals for learning, communicating and entertaining, the question then becomes, is the right equipment being used for the specifics of the job, to make those slides, video, animations and other media look their absolute best for the audience?
Selecting the Right Equipment
The most common misstep made is using a projector that produces a dim image. The brightness of a projector is measured in lumens. The greater the number of lumens, the brighter the projector. The brightness of a projector needed is determined by the size of the screen, which is determined by the size of your audience. The larger the audience, the larger the screens. The larger the screens, the brighter the projector.
The next consideration is whether to project on a screen from the rear or the front. Rear-screen projection provides a cleaner look for the audience and is suitable for most applications. Front-screen projection produces a higher-quality image versus projecting from the rear, but it does require navigating the complexities of avoiding people in the audience and stopping bleed over from the screens to other staging or set pieces.
Depending on the application and infrastructure (room dimensions, rigging points etc.), front-screen can often be a better choice. This is especially true when it comes to projection mapping that relies on eye-popping animations, video or other media. If using more than two screens, a combination of front- and rear- projection can be used.
Proper Placement
Ideally, projectors will be aligned perfectly with the screens. Rarely does this happen, however. Thankfully projectors are fairly forgiving and can produce good images in less than ideal circumstances. Keep in mind, though, that the more an image is skewed/manipulated, the more the quality of the image is being sacrificed. The key is to try to place the projector as close to the perfect position as possible in any given situation.
Another factor to account for is the placement of the audience in relation to the screens. The section of the audience positioned directly in front of screens won’t have any issues viewing the content as it was produced. If an audience is set wider than the stage and screens, it will be more difficult for audience members seated at extreme angles from the screens to view screen content. This is commonly referred to as being “off axis” and can greatly diminish the experience for some audience members. If the audience is set wider than the screen(s), it’s important to consider how far off axis those on the outer edges will be and adjust accordingly.
The “off axis” effect is more noticeable as the “throw distance” – distance between projector and screen – increases. An approximate throw distance is determined by multiplying the width of the screen by the predetermined value of the lens being used, regardless if projecting onto a surface with a 16 x 9 or 4 x 3 aspect ratio. For example, a common throw ratio is 1.15:1. This number is provided by the manufacturer. The first number (1.15) represents the distance. The second number (1) represents the screen width. If your screen is five feet wide, the throw distance formula is 1.15 x 5 = 5.75 feet. Place the projector 5.75 feet from the screen. Keep in mind if the projector has a zoom lens, there are two aspect ratios. One for when the lens is zoomed in, one for when it is zoomed out. After using the formula to calculate throw distance, most manufacturers recommend rounding that number up or down by five percent to allow for variance between different projectors. If you’re working with an event production company they’ll have more accurate ways to calculate this information. Formulating these distances during site inspections and planning discussions will help avoid issues on-site. You’ll need to fine-tune during set up, but you’ll avoid re-working your entire design at the last minute.
A few other considerations include power, life of a projector light bulb and the experience and ability of those working with the equipment. Engineering the infrastructure to support visual experiences can become complicated quickly and only escalates from there.
Pick a Great Partner to Avoid Projection Pitfalls
Fortunately, at Bartha, we have seasoned professionals who specialize in engineering, building and troubleshooting the infrastructure to support visual experiences that range from single-screen breakouts to multi-screen, mind-blowing visual extravaganzas with 10 screens or more, including custom-made screens of various shapes and sizes. And with our Creative Services team, we also have the vision and expertise to produce captivating moving animation, video and graphics to put on those screens – including projection mapping for a more immersive experience. Click here to see a sample of our capabilities.
We welcome the opportunity to discuss our visual presentation capabilities with you as you plan your next event.


